Showing posts with label Mini Album.. Show all posts

28 July 2010

Santa letters...

Charlie has always loved to write, especially letters. Over the years he has written some lovely ones to SANTA  which had been safely (and secretly) tucked away until I knew what kind of album to put them in. Have collected lots of collage pieces and knew I wanted a vintage style BUT just couldn't think how to put them together..
Until I saw an album during a blog hop
It was so quick and easy to make and just what I needed...
The front cover...
...Page 1...
...Page 2...
...Page 3...
...Page 4...
...Page 5...
...Page 6...
...Double Back Pages...
...Back Cover...
The album contains postcards, packaging, tags, scrapbook paper, rub ons, stickers, game cards, christmas cards, stamps, die cuts, embossing folders...a bit of everything really.

I used good quality Papermania papers for the background papers and a good quality(red) cardstock for the album, the great thing is it stays shut by itself and stands really straight on the shelf. Will definately be using this style of album again.

Decided to put an envelope on each page which was distressed to look like child had opened it. They were attached to the page by gluing along the 2 long edges so the letters could slide in and out easily. Every one was decorated in a vintage style to finish.

Have left one of the double back pages plain so can add journalling at a later date.

The front page was the last one to finish as realised didn't have any large Santa pictures, until looking through an old Paper Doll album and there he was in all his glory, the perfect size as well.

If you look closely on the back cover you can see a bauble card taken from a memory game. The funny thing is have forgotten to take the matching card out, that will be fun when we next play :)

Thanks for sticking with the long post :)

28 June 2010

A gift for Teacher...

Okay, this will be the last mini album I post promise.
This one is a gift for teacher.
...as it's for Maths teacher used a paper with numbers pattern...
...wooden star was given make over with paint and an apple rub on...
...and a magnet glued to the back..
(just to show how magnet attaches to book)

PAPERS USED:
:Basic grey (numbers):
:Making Memories (orange spots):

Thanks for looking : )

27 June 2010

Just loving mini albums...

Being a crafter (and not wanting to throw any scrap of paper away) this mini album has been made using the middles cut from the flash card album. After all the pieces were already painted and cut to same size.
I wanted to make it quite girly and it's for someone who has opposite tastes to me so fingers crossed she likes it.

...chipboard flower is sizzix die...
(love that it cut this thick card like butter)
...covered in paper...
...petals painted with stickles...
...material flower stuck using glue dot...

...as this is tiny rather than file edges level just covered with strips of paper leftover from cutting front cover...
(does close flat it's way i'm holding the album)

...middles for this mini book cut using nestabilities...
...wooden heart started off painted blue spotty with a hole in top for hanging...
...painted edges with acrylic paint...
...covered front in paper,distressed edges...
...cut words "best friend" from sticker, added to front and filed edges...
...another rose to finish...

A mini album made from scraps and one piece of A4 patterned paper (it's that tiny)
Off to make one for Charlie Maths teacher.

Have good weekend.
I'm actually going to watch the Footie later, sport & TV must be lack of sleep catching up with me LOL :)

25 June 2010

Completed flash card mini album...

This is definately a favourite.
Charlie keeps asking to look at it, in my eyes that's the highest stamp of approval.

Finished size is A6.
The front cover:
Was going with different title (whats in a boys pocket) but, cut a long story short, a mistake meant a change to this. 
Details: Word pocket: Chipboard covered C,Smaller font is die cut (QK Paige).
All other words stamped.
The pocket is cut from scrapbook paper.
Boy image: part of large stamp; stamped onto (Making Memories) patterned paper and cut out.

Inner pages:
Tried to do them as a story book but replacing key words with pictures.
Details: Circles have been stamped using inkpad, toilet tube & lids.
All items on page are from my Collage box.
(click on picture to enlarge)

Inner Pages (2):
Everytime I look at it I see something else.
Details: Left side is a photo of bulkier items and ones he wanted to keep/Right side is actual items.
These have all been in Charlies pocket at some point and been (well) played with on the way to school.
Charlie found a worm (called wormy) at school and was gutted when he passed, but was grateful that never found him in the pocket.
Charlie wrote the sentence and the worm has been stamped on pink patterned paper.

Thanks for looking :)

23 June 2010

Flash card mini album...(tutorial)

Have wanted to do a mini album, showing the contents of Charlies pockets, for ages. I dread putting my hands into them on wash days (although his friend did take home worms so shouldn't complain).
Trouble is I didn't know which style of album to use; until a purchase of Craft Stamper, May 2010, featured the perfect project:
BUT I wasn't happy with my first result. It had too many mistakes and wasn't deep enough to hold some of the bulkier objects...
I looked around at what I had that could be used and after taking apart a board book decided it would be quite easy to produce my own.
Materials needed:
9X Flash cards /Strong glue/White acrylic paint /2X sheets of 12x12 paper/Piece of acrylic/Cotton tape/binding tape/Contents for "hole"/Metal edged ruler/SHARP knife/Bone folder (optional)

So here is my take on the original project using Flash cards which were brought from a charity shop (4 items for £1-bargain!!):
...these cards are BIG, A5 in size.
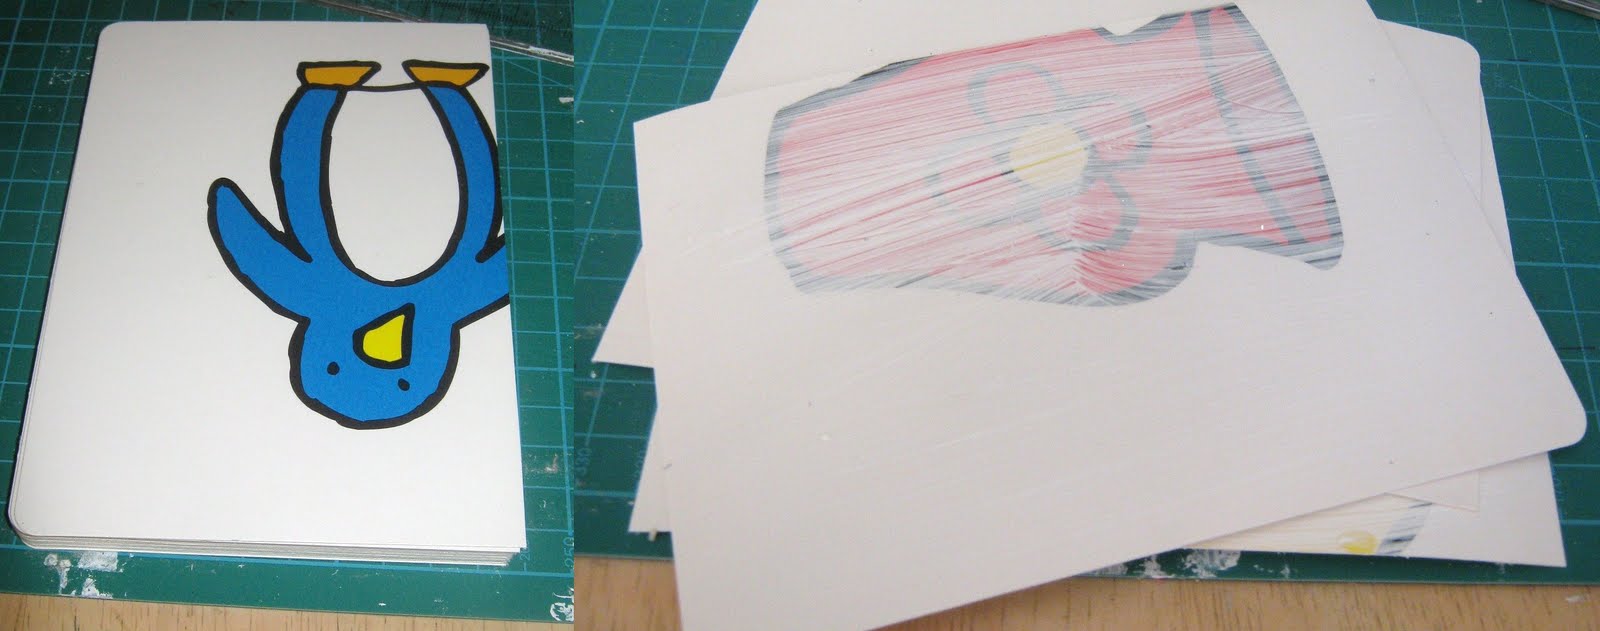
Start by cutting 9 of them in half.
Paint them with white acrylic paint.
When dry put 4 of them to one side:
...after deciding what size hole to use make a template and using this cut a hole in the cards.
 Glue together:
...make a base by gluing 2 uncut cards together.
 Glue them to the bottom of the cut pile.
Fill the hole with selected items (You could paint or deocrate the hole first).
Put double sided tape around the edges of hole and place piece of acrylic over the top:
 Put this to one side and make the amount of front pages required:

To make one page:
  Select your paper.
Make sure you can fit 2 pieces of card side by side on it...
Fold paper in half.
Glue 2 cards.
On WRONG side of paper: place cards either side of the fold:
..for more pages make up in this way.
You will be left with the front and back card still bare:
...Using template cut a hole into one side of chosen paper.
Put double sided over top of acrylic and glue card.
Place over the hole.
...Glue the other side to attach to back of completed pages.
You should now have an  undecorated back and front cover and the "book" in the middle:
...Glue the spine and then cover with cotton tape, leave to dry.

While drying make the cover:
...choose which paper you want to decorate your cover.
Cut to fit the book.
Fold around the spine.
...when you have this "spine" turn over the paper.
 On WRONG side draw a line 2 cm apart parrallel to fold.
Fold this line inwards.
This will be BACK cover:
...On the wrong side glue UPTO the outer fold lines (highlighted in black above).
Attach to the book, remember which is back page:
...when finished should look like this.
Thick side is one with hole and the thin side is front pages.

Finished book:
Just need to decorate the cover and inside pages so watch this space.
Will post completed project.

What I learnt from this project:
1)Cheap board books pages split, scour charity shop and look for board books with THICK pages.
2)I couldn't get a board book with deep enough "hole" which is why decided on Flash card version. Don't be afraid to make your own.
3)If superglue touches the acrylic it turns the sheet white.
4)The perfect gIue for me is: TOMBOW
The only negative point about it is a horrible sticky residue on skin (this does wash off) and can forgive this because the glue sticks EVERYTHING...the proof...this book is standing on it's side...
...In there is metal (key, bottle top, penny)/lego/various plastic items/paper/sweet wrapper/rubber...
5)Found clothes pegs make great clamps, for sticking pages together while working.
6)To keep card flat when had glued the pages placed under my Rev case to dry completely. This project size fitted under it perfectly : )
7)Don't be afraid to make mistakes, learn from them.

This is an extra picture to show my sister what my desk really looks like when I'm working on a project: I'm betting tidy is the first word that spings to mind:

Thanks for keeping with me on this long post and first tutorial.
if you try this project yourself, send me a link or photo will post on blog.

7 May 2008

MINI album made as present. Hope they like it!!


I recently won a prize and part of this was a LIPPY CHICK FLAP ALBUM (http://www.lippychick.co.uk/) I will be buying another one. I love it.
This album has been made using up bit and pieces that have sat in my stash for a while.
Thanks for looking.