Have wanted to do a mini album, showing the contents of Charlies pockets, for ages. I dread putting my hands into them on wash days (although his friend did take home worms so shouldn't complain).
Trouble is I didn't know which style of album to use; until a purchase of Craft Stamper, May 2010, featured the perfect project:
Trouble is I didn't know which style of album to use; until a purchase of Craft Stamper, May 2010, featured the perfect project:

BUT I wasn't happy with my first result. It had too many mistakes and wasn't deep enough to hold some of the bulkier objects...
I looked around at what I had that could be used and after taking apart a board book decided it would be quite easy to produce my own.
Materials needed:
9X Flash cards /Strong glue/White acrylic paint /2X sheets of 12x12 paper/Piece of acrylic/Cotton tape/binding tape/Contents for "hole"/Metal edged ruler/SHARP knife/Bone folder (optional)
So here is my take on the original project using Flash cards which were brought from a charity shop (4 items for £1-bargain!!):

...these cards are BIG, A5 in size.
Start by cutting 9 of them in half.
Paint them with white acrylic paint.
When dry put 4 of them to one side:
...after deciding what size hole to use make a template and using this cut a hole in the cards.
Glue together:

...make a base by gluing 2 uncut cards together.
Glue them to the bottom of the cut pile.
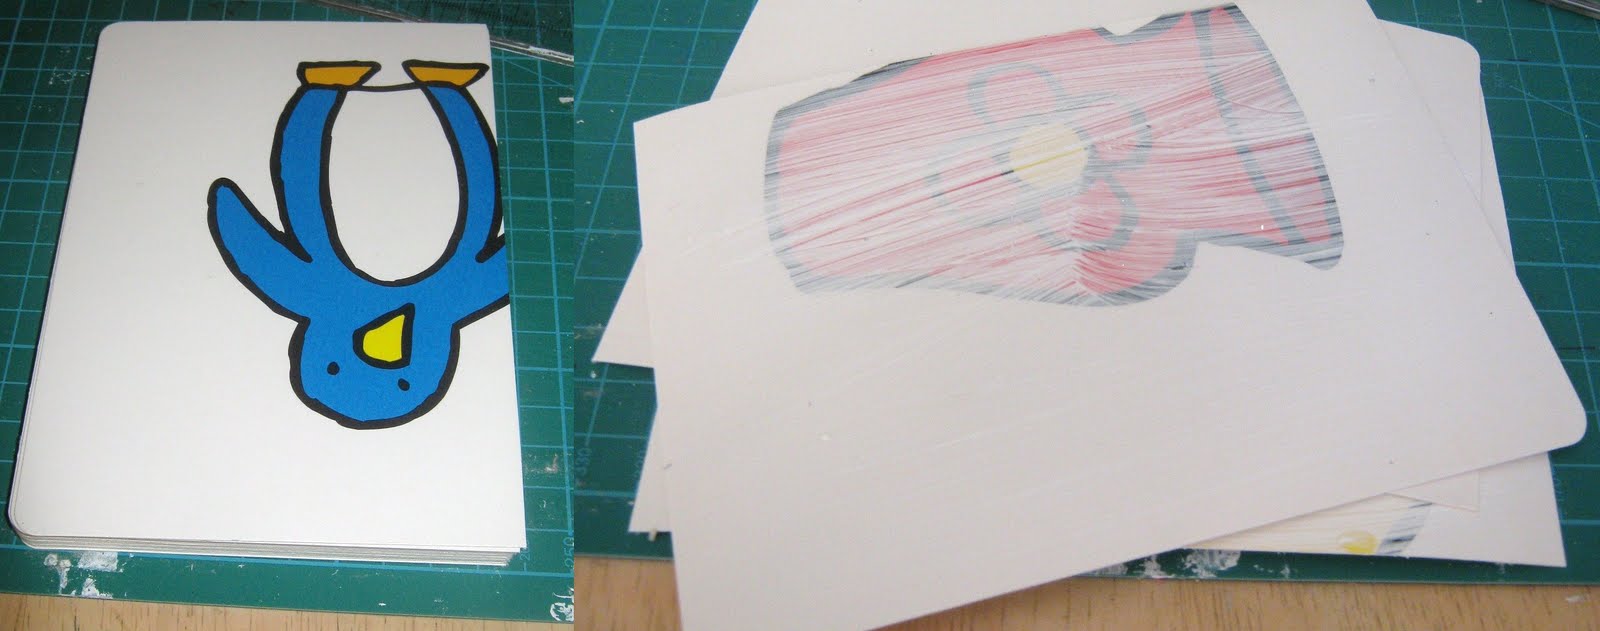
Fill the hole with selected items (You could paint or deocrate the hole first).
Put double sided tape around the edges of hole and place piece of acrylic over the top:

Put this to one side and make the amount of front pages required:
To make one page:
Select your paper.
Make sure you can fit 2 pieces of card side by side on it...
Fold paper in half.
Glue 2 cards.
On WRONG side of paper: place cards either side of the fold:

..for more pages make up in this way.
You will be left with the front and back card still bare:

...Using template cut a hole into one side of chosen paper.
Put double sided over top of acrylic and glue card.
Place over the hole.

...Glue the other side to attach to back of completed pages.
You should now have an undecorated back and front cover and the "book" in the middle:

...Glue the spine and then cover with cotton tape, leave to dry.
While drying make the cover:
...choose which paper you want to decorate your cover.
Cut to fit the book.
Fold around the spine.

...when you have this "spine" turn over the paper.
On WRONG side draw a line 2 cm apart parrallel to fold.
Fold this line inwards.
This will be BACK cover:

...On the wrong side glue UPTO the outer fold lines (highlighted in black above).
Attach to the book, remember which is back page:

...when finished should look like this.
Thick side is one with hole and the thin side is front pages.
Thick side is one with hole and the thin side is front pages.
Finished book:

Just need to decorate the cover and inside pages so watch this space.
Will post completed project.
What I learnt from this project:
1)Cheap board books pages split, scour charity shop and look for board books with THICK pages.
2)I couldn't get a board book with deep enough "hole" which is why decided on Flash card version. Don't be afraid to make your own.
3)If superglue touches the acrylic it turns the sheet white.
4)The perfect gIue for me is: TOMBOW

The only negative point about it is a horrible sticky residue on skin (this does wash off) and can forgive this because the glue sticks EVERYTHING...the proof...this book is standing on it's side...

...In there is metal (key, bottle top, penny)/lego/various plastic items/paper/sweet wrapper/rubber...
5)Found clothes pegs make great clamps, for sticking pages together while working.
6)To keep card flat when had glued the pages placed under my Rev case to dry completely. This project size fitted under it perfectly : )
7)Don't be afraid to make mistakes, learn from them.
This is an extra picture to show my sister what my desk really looks like when I'm working on a project: I'm betting tidy is the first word that spings to mind:

Thanks for keeping with me on this long post and first tutorial.
if you try this project yourself, send me a link or photo will post on blog.


1 comment:
My Oh My.. you really have been busy,... What a project!
It's a fantastic Idea...I can see this being used for lots' of things.. Wedding day keepsakes...birthday's .. Baby..
Fantastic Idea..
Fantastic project
Post a Comment